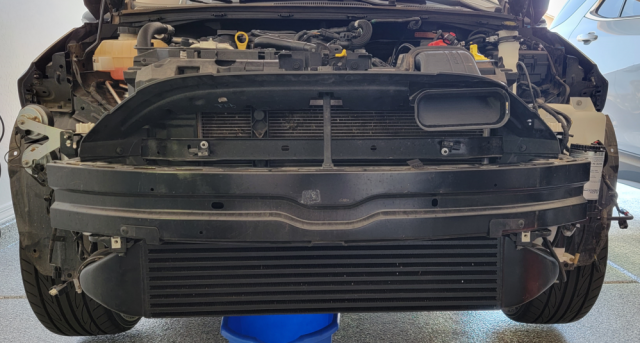
I’m back from the hiatus. Aside from it being not fun to work on cars during summers here, I was taking a course for the Army to be eligible for the next rank. Being a Reservist/Guardsman means that I got to take the distance learning version of the course during evenings and weekends, which ended up being a huge time sink.
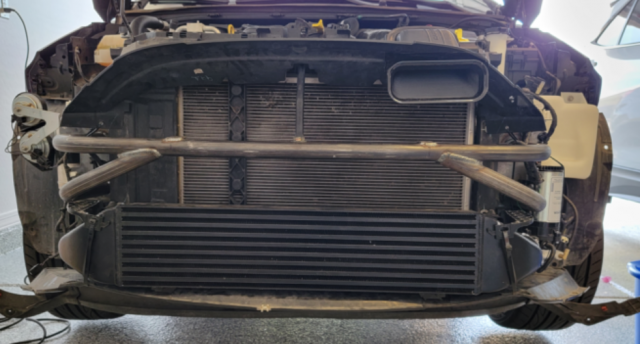
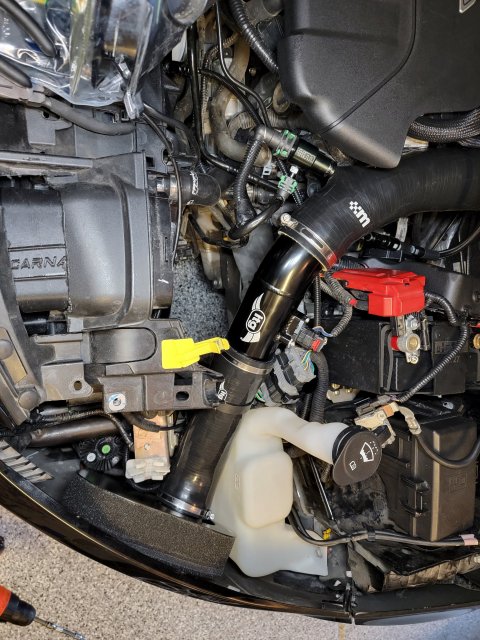
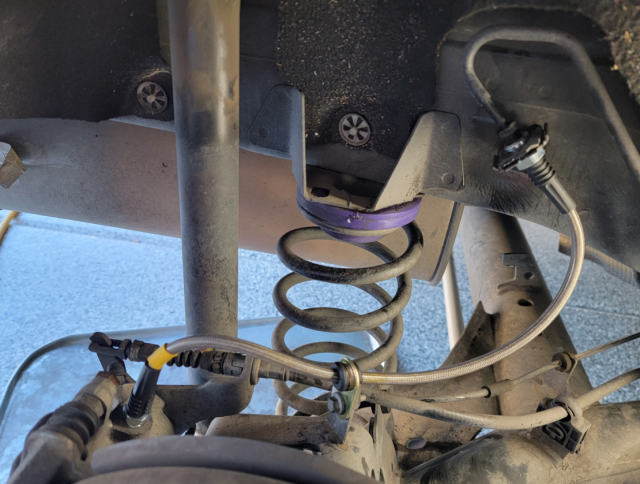
I finished the course and the weather’s much cooler now, so I am resuming the project starting with rear brakes. I already swapped front hoses with stainless steel braided lines via Wilwood BBK kit, so I replaced the rear ones with StopTech hoses. As expected, the brake pedal feels firmer and requires less effort to stop after the swap.
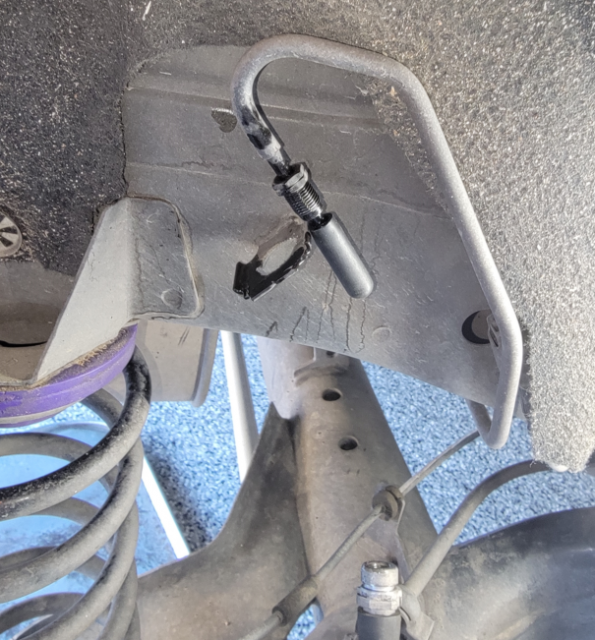
If you like to take your time while swapping lines, you can cap the hardline with a ¼” vacuum cap to stop the brake fluid from dripping and making a mess.
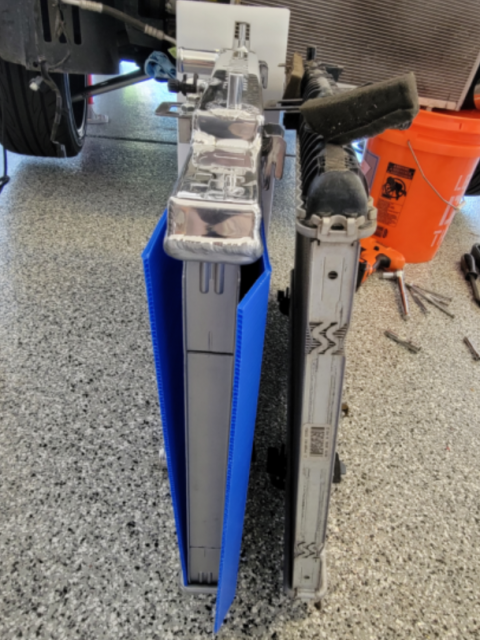
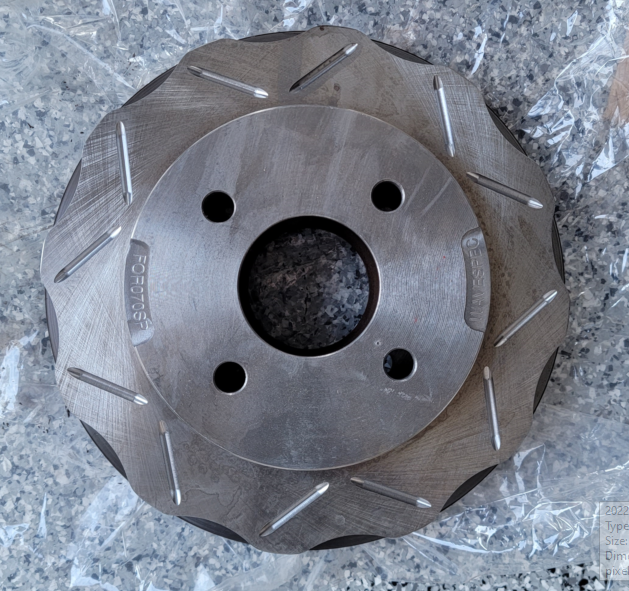
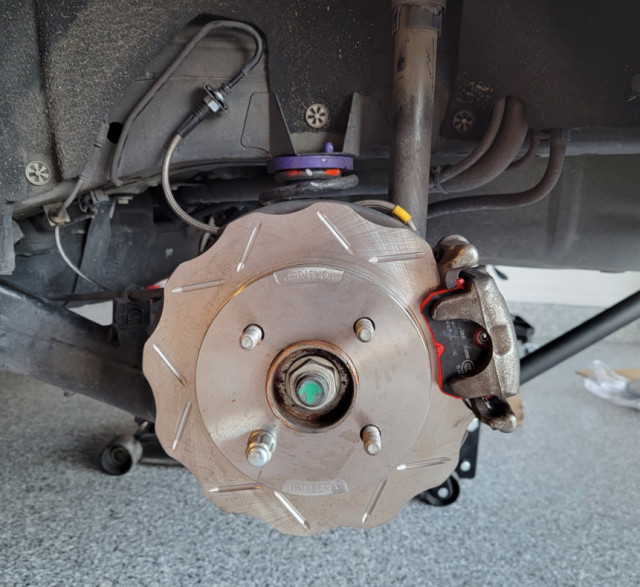
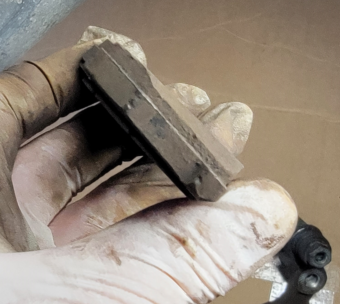
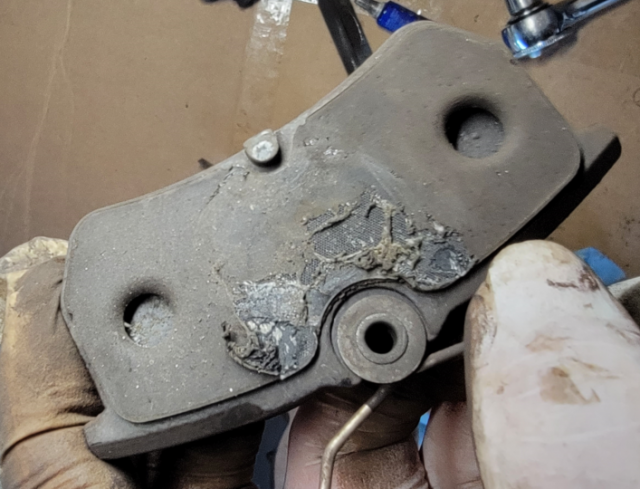
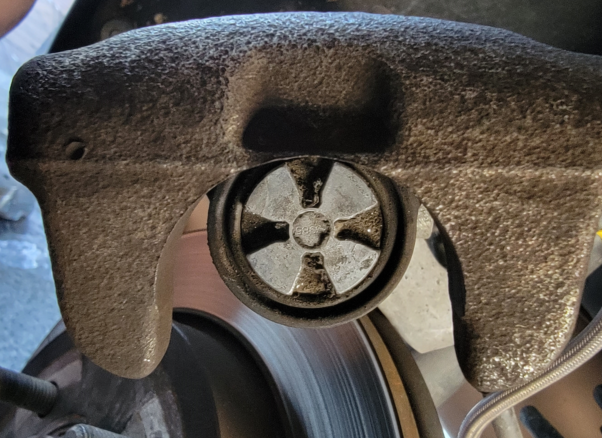
Rear pads are looking on the thin side, so I ordered a set of EBC Redstuff rear pads. I couldn’t find any lightweight two-piece rotors for the rear, so I ordered a set of WaveSpec Sport Line rotors to compare their weight vs. the OEM ones.
View attachment 53004
View attachment 53005

![[:(]](/images/smilies/frown.png "Frown [:(]") ).
).