• Sign Up! To view all forums and unlock additional cool features

    Welcome to the #1 Fiesta ST Forum and Fiesta ST community dedicated to Fiesta ST owners and enthusiasts. Register for an account, it's free and it's easy, so don't hesitate to join the Fiesta ST Forum today!


Which Fiesta ST Intercooler did you choose?

Which Fiesta ST Intercooler did you choose?

  • Mountune

    Votes: 67 11.5%
  • PERON

    Votes: 7 1.2%
  • Airtec

    Votes: 19 3.2%
  • ATP

    Votes: 10 1.7%
  • Cobb Tuning

    Votes: 74 12.6%
  • Forge Motorsport

    Votes: 1 0.2%
  • Levels Performance

    Votes: 9 1.5%
  • Mishimoto J-Line

    Votes: 32 5.5%
  • R-Sport

    Votes: 5 0.9%
  • Deadhook Motorsports

    Votes: 47 8.0%
  • Depo Racing

    Votes: 102 17.4%
  • Mishimoto (Direct Fit)

    Votes: 21 3.6%
  • Modern Automotive Performance

    Votes: 27 4.6%
  • Custom Performance Engineering

    Votes: 40 6.8%
  • MTC

    Votes: 15 2.6%
  • Other

    Votes: 109 18.6%

  • Total voters
    585
Messages
8
Likes
7
Location
Augusta, Ga
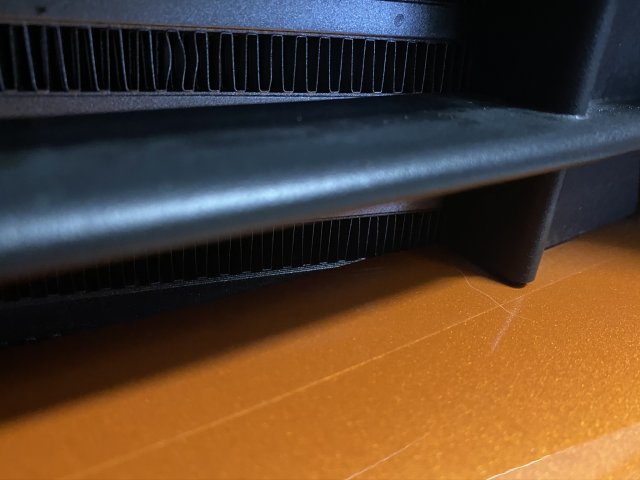
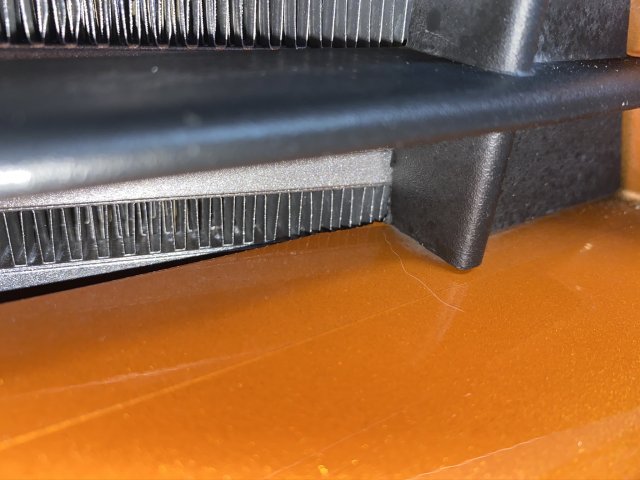
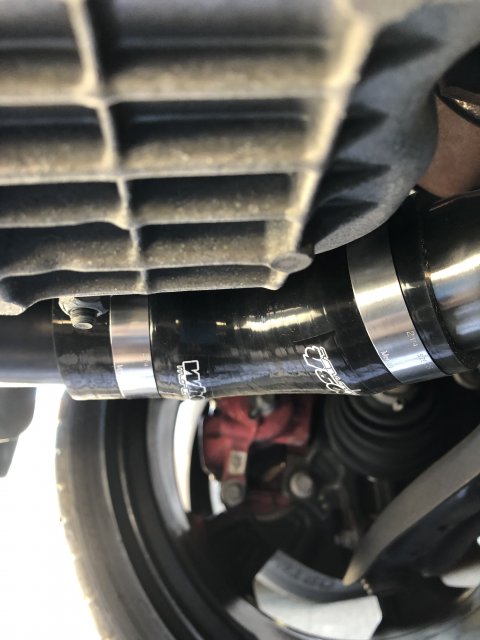
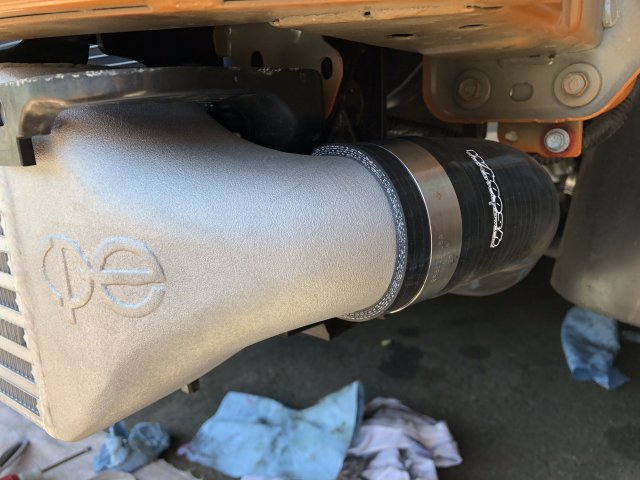
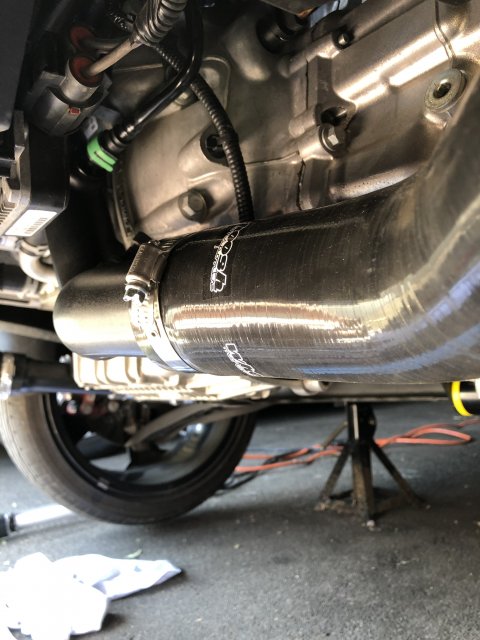
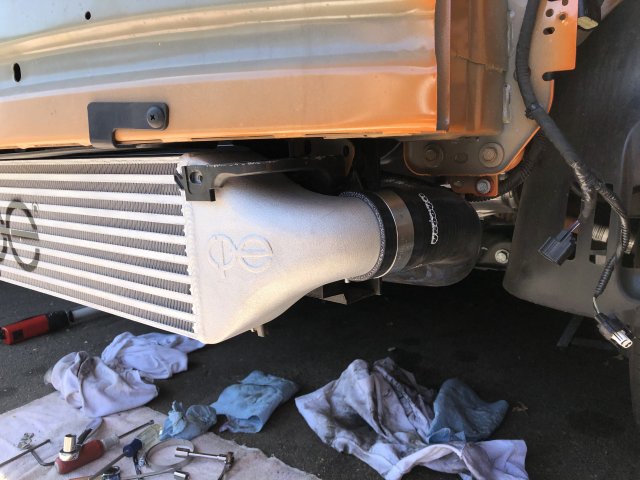
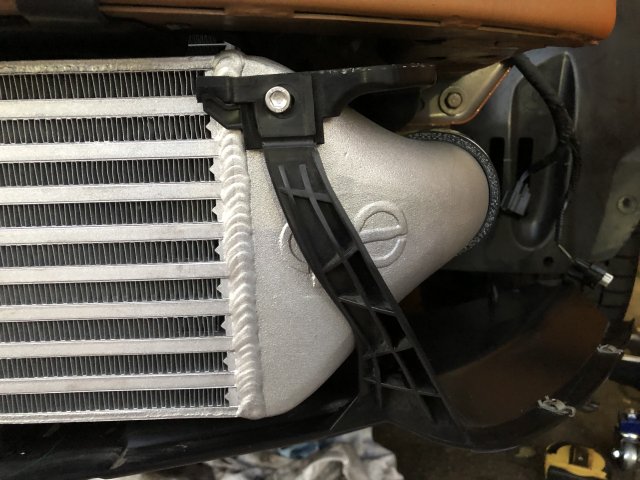
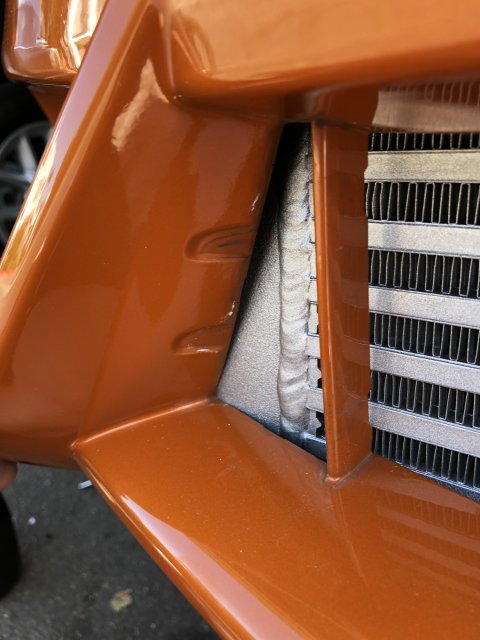
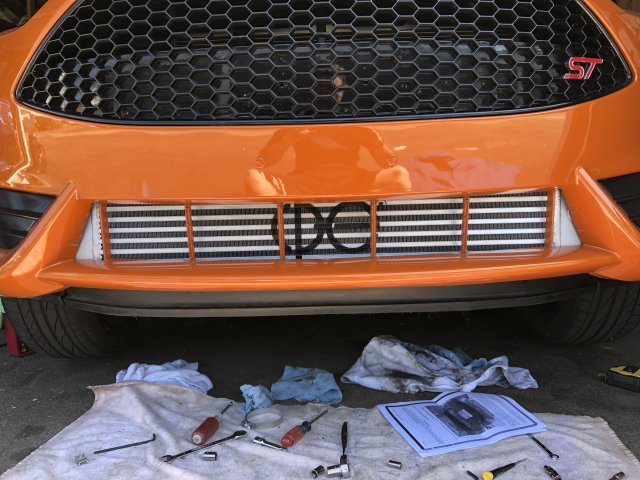
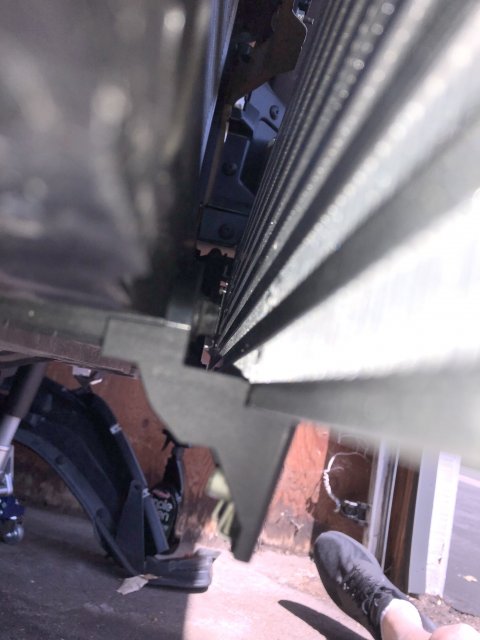
So, is the consensus that the CPE does not require any cutting or mods to fit?
Just installed one yesterday. I did end up shaving a few mm with a dremel from the inside of the bumper on the outermost edges of the grille that covers the FMIC. I probably could have shaved another mm or two, as while it fits, it JUST fits. But it was a very minor mod; even knowing I did it, I can’t tell unless my face is literally inches away from the bumper looking for it.


Messages
435
Likes
406
Location
Simi Valley, CA, USA
Just installed one yesterday. I did end up shaving a few mm with a dremel from the inside of the bumper on the outermost edges of the grille that covers the FMIC. I probably could have shaved another mm or two, as while it fits, it JUST fits. But it was a very minor mod; even knowing I did it, I can’t tell unless my face is literally inches away from the bumper looking for it.
Awesome thanks for the info. I just finished installing the new boost hoses about an hour ago. When you Say the bumper needed trimming, is it the actual bumper or the lower grille? I’m about 85% on just pulling the lower grille. I like the open look but it would provide at tad more protection for the IC. So if it’s shave it or remove I’ll probably just remove.


Messages
8
Likes
7
Location
Augusta, Ga
Awesome thanks for the info. I just finished installing the new boost hoses about an hour ago. When you Say the bumper needed trimming, is it the actual bumper or the lower grille? I’m about 85% on just pulling the lower grille. I like the open look but it would provide at tad more protection for the IC. So if it’s shave it or remove I’ll probably just remove.
I shaved both, namely where the grille clips into the bumper. I didn't go completely through the clip, but I'm sure I weakened it some. Even so, there's enough intact clips that I'm not worried about anything coming undone.

I wish I took pics of the bumper interior when I did it. But here's a few of the finished work.

I like the stealth look:
IMG_0783.JPEG

You can see it better if I get level with it:
IMG_0784.JPEG

This is a close-up of where I shaved the driver side. You can't really tell that I did anything, even this close.
IMG_0786.JPEG

And with the flash on. It looks like I trimmed a lot, but I really didn't. From the bottom of the grille to the top, it flares out a bit, so no need to trim above the bottom-most grille.
IMG_0787.JPEG

Hope this helps!


Messages
435
Likes
406
Location
Simi Valley, CA, USA
I shaved both, namely where the grille clips into the bumper. I didn't go completely through the clip, but I'm sure I weakened it some. Even so, there's enough intact clips that I'm not worried about anything coming undone.

I wish I took pics of the bumper interior when I did it. But here's a few of the finished work.

I like the stealth look:
View attachment 30197

You can see it better if I get level with it:
View attachment 30198

This is a close-up of where I shaved the driver side. You can't really tell that I did anything, even this close.
View attachment 30199

And with the flash on. It looks like I trimmed a lot, but I really didn't. From the bottom of the grille to the top, it flares out a bit, so no need to trim above the bottom-most grille.
View attachment 30200

Hope this helps!
Hmm. I’m loathe to shave the bumper. I don’t want to create an area where paint could start to peel from or something. 😕

I have my IC mounted but bumper not back on yet. So far I’ve had to shave the center bolt location for the air dam but don’t yet have it back on.

thanks for the info and pics. Really appreciate it.


Attachments

Messages
435
Likes
406
Location
Simi Valley, CA, USA
Done and done! The bumper is decidedly in contact with the end tanks on the IC but CPE instructions noted some contact is ok and it didn’t cause any of the bumper mounting points to be off or a stretch to line up. So the only shaving I had to do was the center air dam mounting piece noted above.


Attachments

Messages
8
Likes
7
Location
Augusta, Ga
Awesome! Looks good without the grille, too.

Question though, cuz I don’t remember seeing the part, where is that center air dam mounting piece located? I’m now wondering if that was something I should‘ve shaved, too!


Messages
435
Likes
406
Location
Simi Valley, CA, USA
Awesome! Looks good without the grille, too.

Question though, cuz I don’t remember seeing the part, where is that center air dam mounting piece located? I’m now wondering if that was something I should‘ve shaved, too!
Well, of course I didn’t take any pics of the front of the car with the stock IC still on (or off) but here is one from the side and underneath after mounting the CPE. It’s the center of the 3 lower bolt locations that the air damn bolts to. Which itself bolts to the radiator support surround (or whatever that’s called).


Attachments

Messages
435
Likes
406
Location
Simi Valley, CA, USA
Well, of course I didn’t take any pics of the front of the car with the stock IC still on (or off) but here is one from the side and underneath after mounting the CPE. It’s the center of the 3 lower bolt locations that the air damn bolts to. Which itself bolts to the radiator support surround (or whatever that’s called).
And it was a bit of a pain getting that thing in there. I loosely bolted the mount in place then I had to tape a piece of cardboard over that area of the back side of the IC to prevent messing up the fins, and use a thin open end wrench up and over the top of the IC then down the back side to tighten the bolt up for the mount. I could have chopped more of it off but I wanted it to rest up against the bottom of the IC as I believe that’s how it is with the stock IC.


Messages
435
Likes
406
Location
Simi Valley, CA, USA
Well, of course I didn’t take any pics of the front of the car with the stock IC still on (or off) but here is one from the side and underneath after mounting the CPE. It’s the center of the 3 lower bolt locations that the air damn bolts to. Which itself bolts to the radiator support surround (or whatever that’s called).
I looked through my pics closer and found one showing the mount I had to notch. It’s the center one below the IC. And you can obviously see the other 2 for reference.


Attachments

Messages
8
Likes
7
Location
Augusta, Ga
I looked through my pics closer and found one showing the mount I had to notch. It’s the center one below the IC. And you can obviously see the other 2 for reference.
Awesome! I like how the notch that you cut out provides a bit of extra support. I think I may end up doing the same this weekend.

Thanks again for the pics!


flbchbm

1000 Post Club
Messages
1,567
Likes
1,315
Location
Sterling, VA, USA
Well, of course I didn’t take any pics of the front of the car with the stock IC still on (or off) but here is one from the side and underneath after mounting the CPE. It’s the center of the 3 lower bolt locations that the air damn bolts to. Which itself bolts to the radiator support surround (or whatever that’s called).
I chose to elongate the hole on that center mounting piece rather than cut the mounting ledge. That way it keeps the orginal strength. (used Depot IC).


Sent from my SM-N960U using Tapatalk


Messages
417
Likes
548
Location
Okemos
Is it normal with an upgraded FMIC to see IAT’s 30-40 degrees above ambient? I’m running an e30 tune and it’s the first day with the new IC.


Brianmc27

Active member
Messages
601
Likes
550
Location
Folsom, CA
Is it normal with an upgraded FMIC to see IAT’s 30-40 degrees above ambient? I’m running an e30 tune and it’s the first day with the new IC.
If you’re just sitting immobile then they can creep up. When you’re doing pulls the charger temps chld come down.

FMIC won’t affect Intake Air Temps


M-Sport fan

9000 Post Club
Messages
14,103
Likes
6,755
Location
Princeton, N.J.
^^^With a lift at ones disposal, most jobs on this car take ~1/3 or less time than using a jack/jackstands, with NO room to move under the car. [wink] [:(]


Messages
435
Likes
406
Location
Simi Valley, CA, USA
^^^With a lift at ones disposal, most jobs on this car take ~1/3 or less time than using a jack/jackstands, with NO room to move under the car. [wink] [:(]
Ha, exactly what I was thinking. My fav car jacking story so far was changing oil on Friday and starting to lower and there was a loud pop like a tire blowing. Look all around and can’t find what caused it. 🙄


Messages
417
Likes
548
Location
Okemos
^^^With a lift at ones disposal, most jobs on this car take ~1/3 or less time than using a jack/jackstands, with NO room to move under the car. [wink] [:(]
For the traction bar I’d agree but for the FMIC there wasn’t much benefit by using the lift. In the future I’ll probably do it on the ground now that I know what’s needed.


Sent from my iPhone using Tapatalk


Top