Let's start at the beginning.....
You bought that sweet Fiesta ST and you rip it around the block, you know instantly that you got mad power and you are now the fastest lawn mower on the block.
You park it in the garage to keep it safe from all the haters.
Nighttime approaches.....
You get a text, and your friends ask you to go to local pizza place and show them how fast that Gallo24 engine is....
You turn the car on and pull out and drive into the night.....but you ask yourself, "why no light"? You quickly realize you made a mistake and that this car is for day time only.....or is it?
You find yourself reading this thread and say man, this what I need....how do I do that?
We will show you.
Lets first start with an advisory, that you are doing this of your own free will, and we will not be held liable for any damages done to you, your own vehicle or any property you own or reside in, while participating or completing, emulating or participating in any action depicted in this tutorial.
We urge you to ask questions before doing something you are unsure of, and we cannot stress this enough.....you MUST have patience to do this.
Once you start, you cannot go back.
This will likely take several weeks, so feel free to comment to request extra photos as we go along.
Whats the part list?
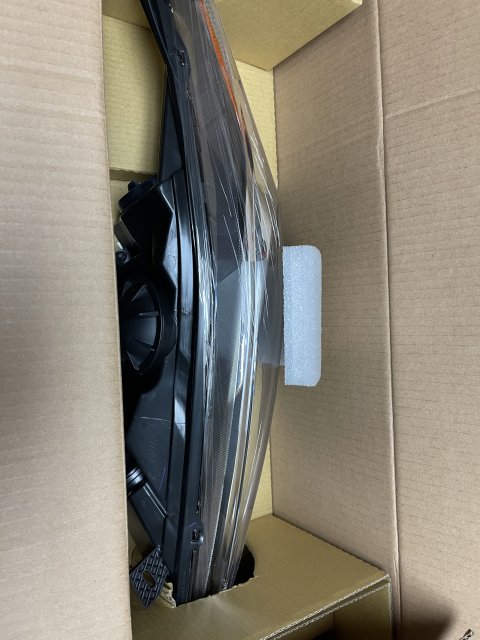
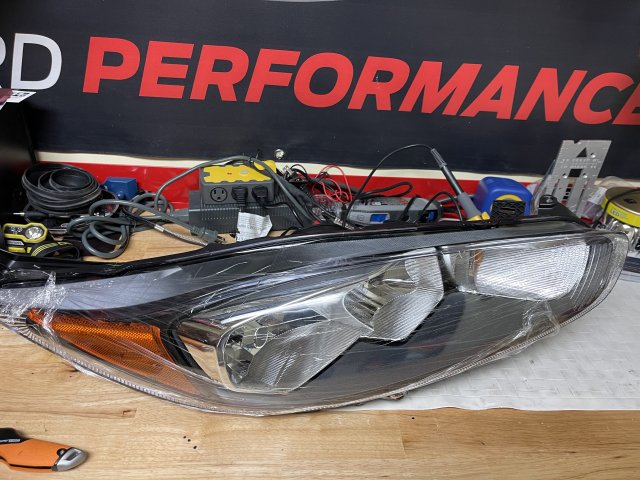
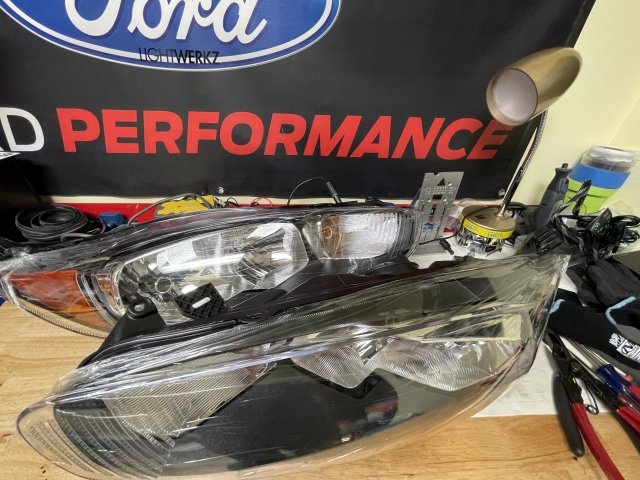
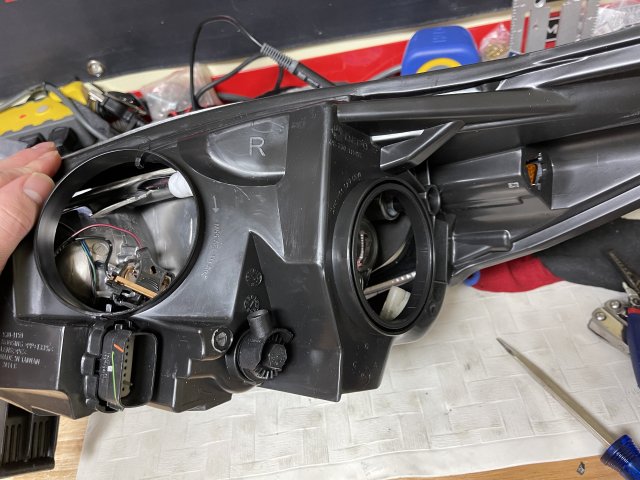
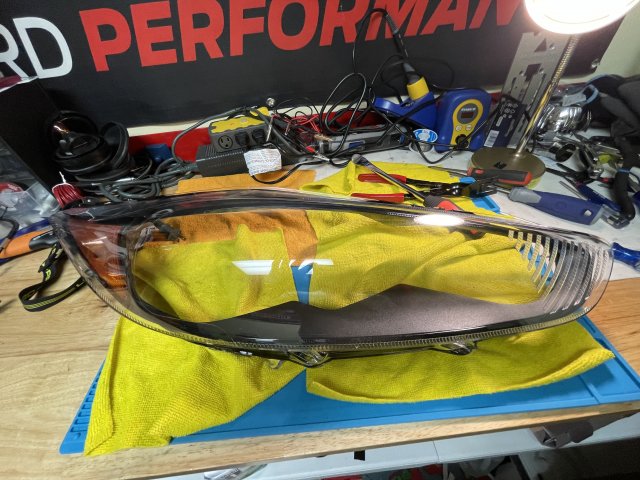
Stock headlights, or Depo replica (you want CAPA Certified version)
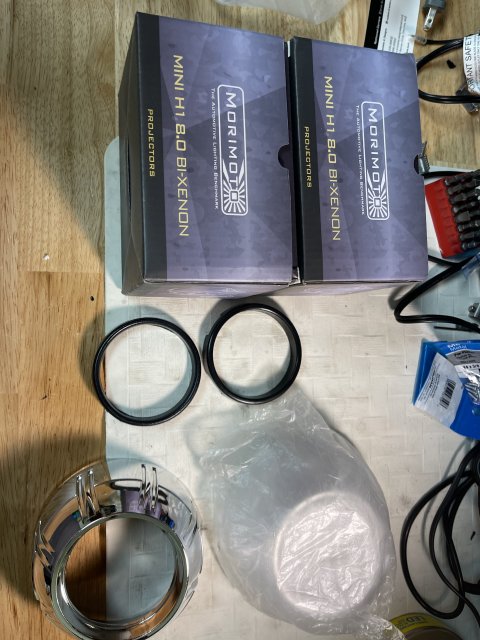
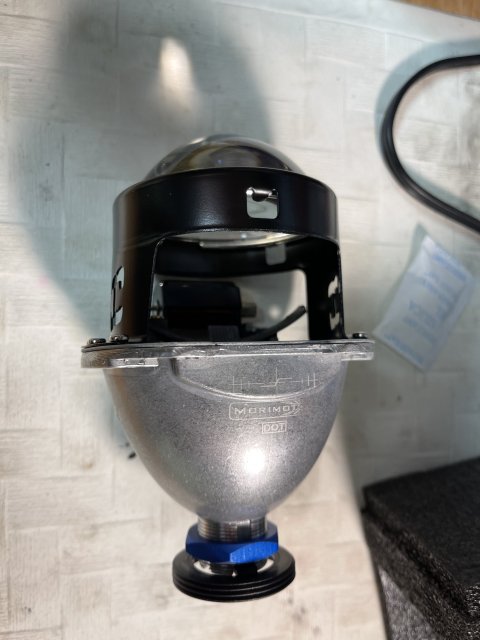
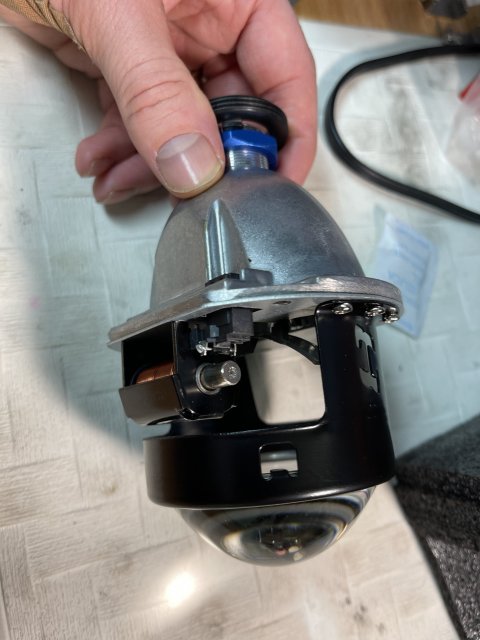
Morimoto Mini H1 8.0 (2)
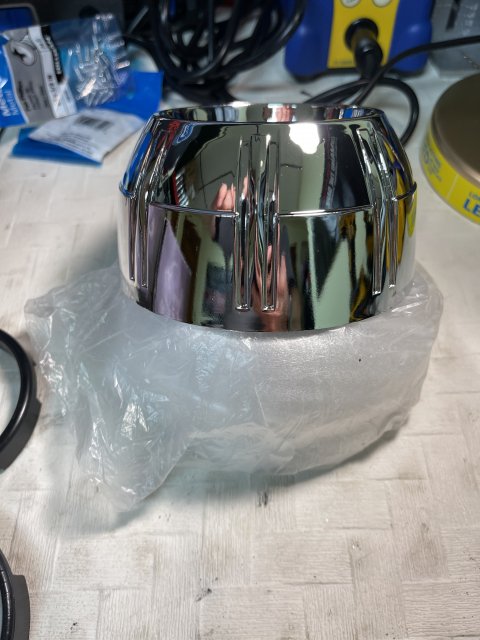
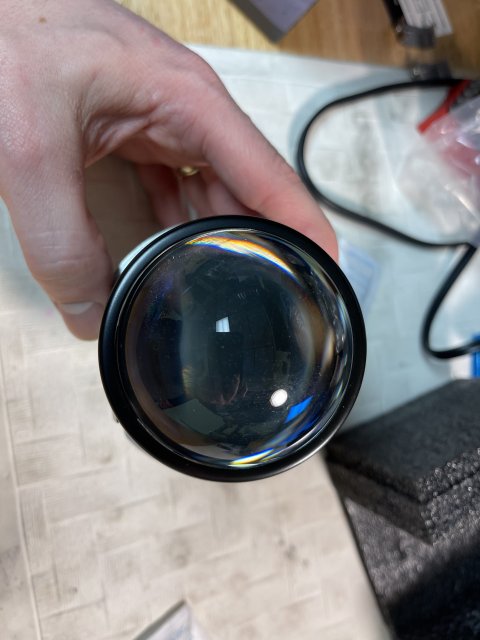
Shrouds (2) [ Apollo is what we have typically used, though others are fine, they just don't cover as much and may look awkward.]
Shroud Centric Rings (2)
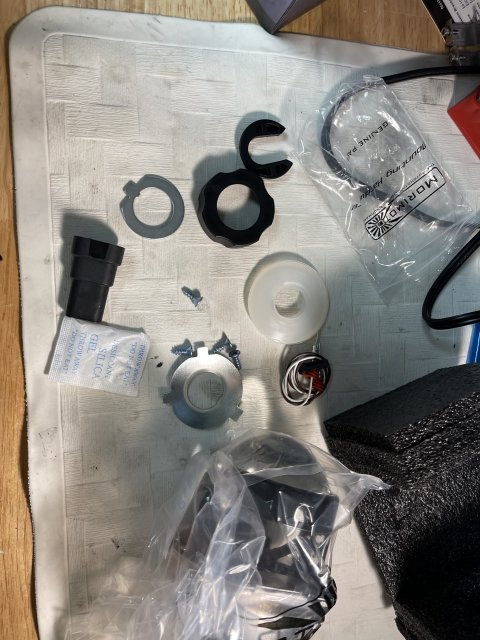
Morimoto or Hylux Ballast (we prefer Hylux, but the Morimoto are a solid choice)
H10 Relay (1)
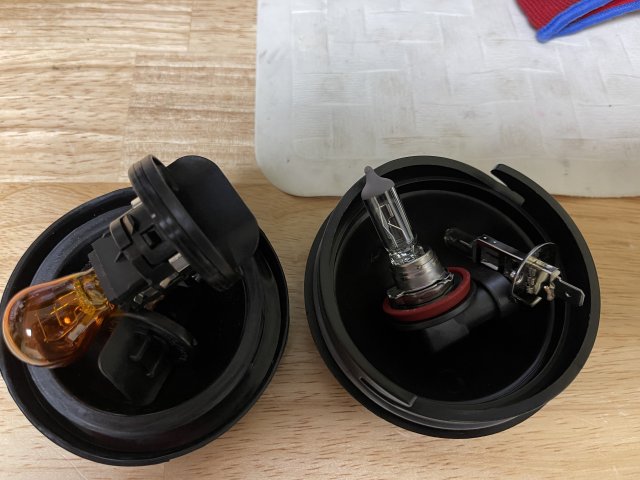
Bulbs 4500K/5500k is recommended.(1 Set )
No splitter is needed for high beam, we will tap them, or splice them depending on your soldering skills.
We can provide all parts required for this build, and even help you with custom stuff.")
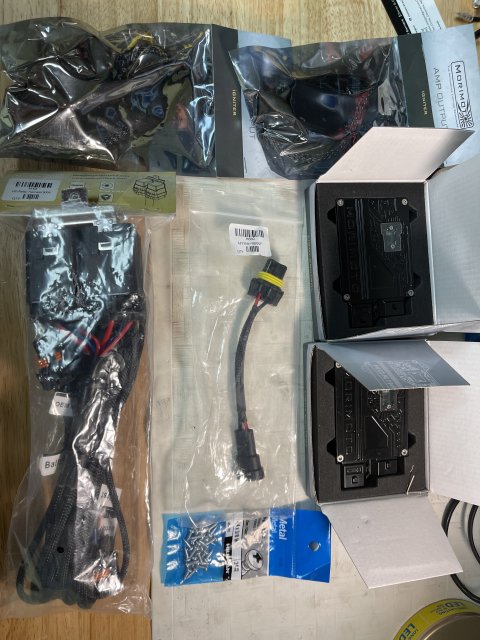
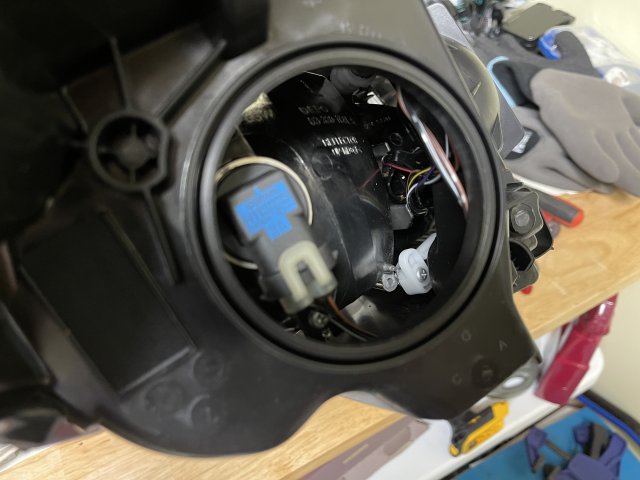
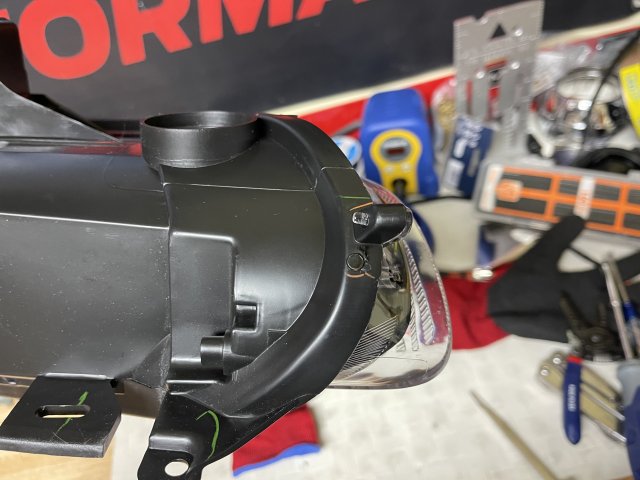
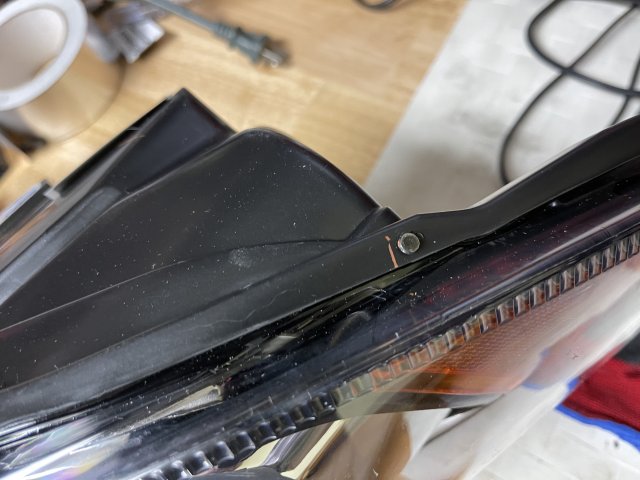
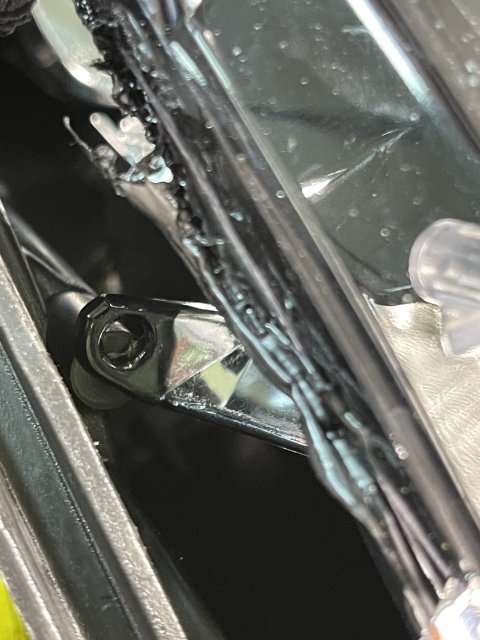
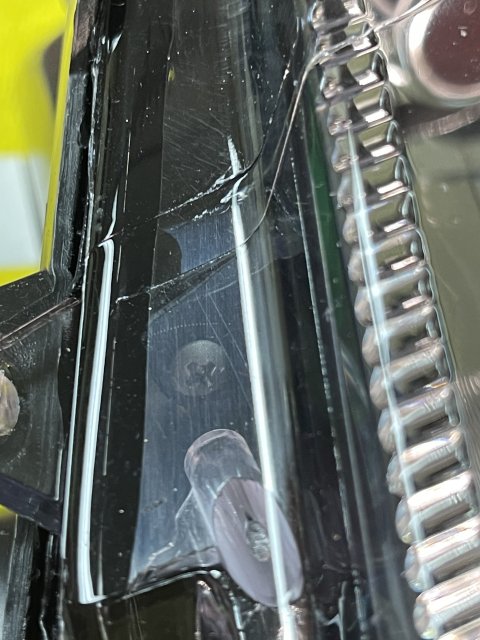
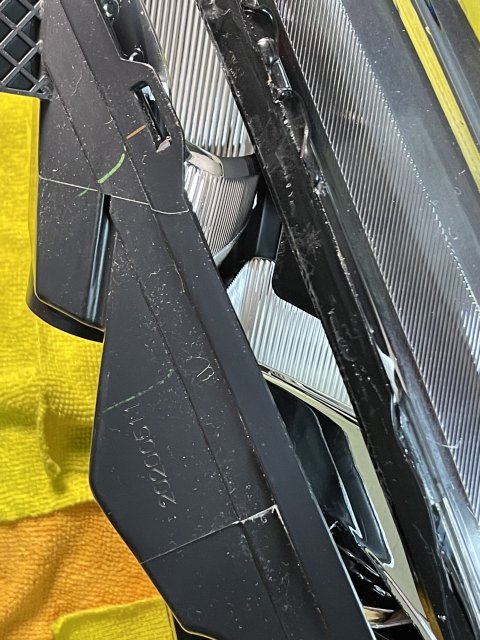
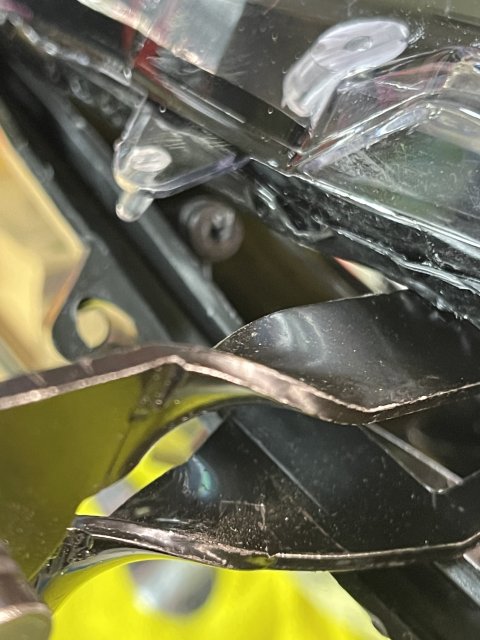
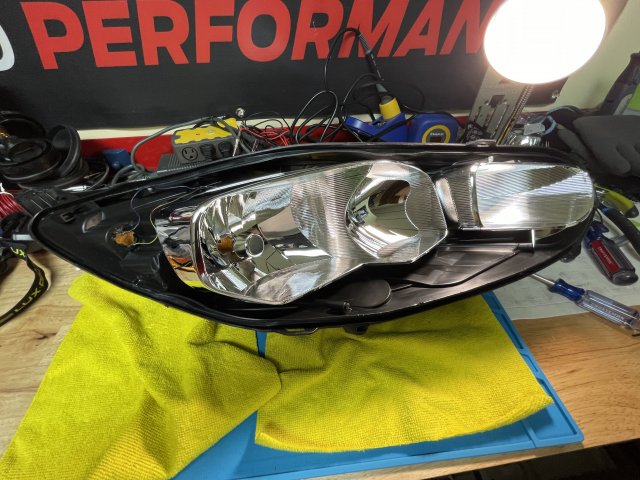
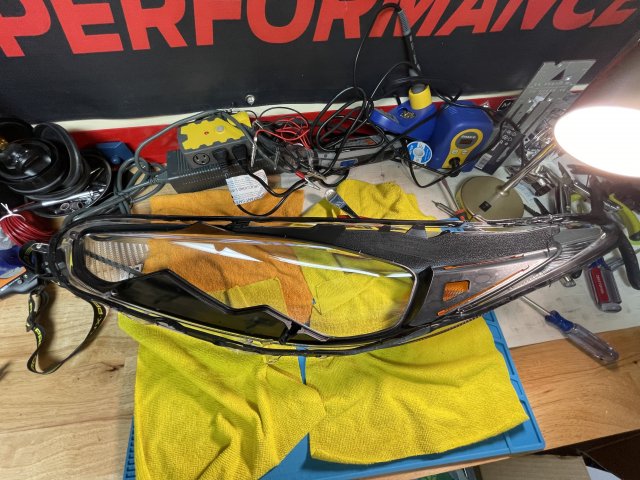
The first step is to get the parts in:
(Photo Here soon)
Once you are sure you have all your parts in and are not missing anything, then lets move to the next step.
To be continued........
You bought that sweet Fiesta ST and you rip it around the block, you know instantly that you got mad power and you are now the fastest lawn mower on the block.
You park it in the garage to keep it safe from all the haters.
Nighttime approaches.....
You get a text, and your friends ask you to go to local pizza place and show them how fast that Gallo24 engine is....
You turn the car on and pull out and drive into the night.....but you ask yourself, "why no light"? You quickly realize you made a mistake and that this car is for day time only.....or is it?
You find yourself reading this thread and say man, this what I need....how do I do that?
We will show you.
Lets first start with an advisory, that you are doing this of your own free will, and we will not be held liable for any damages done to you, your own vehicle or any property you own or reside in, while participating or completing, emulating or participating in any action depicted in this tutorial.
We urge you to ask questions before doing something you are unsure of, and we cannot stress this enough.....you MUST have patience to do this.
Once you start, you cannot go back.
This will likely take several weeks, so feel free to comment to request extra photos as we go along.
Whats the part list?
Stock headlights, or Depo replica (you want CAPA Certified version)
Morimoto Mini H1 8.0 (2)
Shrouds (2) [ Apollo is what we have typically used, though others are fine, they just don't cover as much and may look awkward.]
Shroud Centric Rings (2)
Morimoto or Hylux Ballast (we prefer Hylux, but the Morimoto are a solid choice)
H10 Relay (1)
Bulbs 4500K/5500k is recommended.(1 Set )
No splitter is needed for high beam, we will tap them, or splice them depending on your soldering skills.
We can provide all parts required for this build, and even help you with custom stuff.
The first step is to get the parts in:
(Photo Here soon)
Once you are sure you have all your parts in and are not missing anything, then lets move to the next step.
To be continued........
Last edited: